In today’s digital landscape, Facebook Ads wield immense power in expanding your reach to new audiences. However, to maximize their effectiveness, understanding your audience’s behavior on your website is crucial. Enter Meta Pixel (formerly Facebook Pixel), a game-changing tool that tracks user activity, enabling you to tailor highly targeted campaigns to both new and existing audiences.
“Fanslikefollower.com offers cost-effective Facebook and Instagram services. Let’s grow together!”
Meta Pixel functions as a JavaScript code integrated into your website to monitor visitor interactions and behaviors. It records specific actions chosen by you, such as making a purchase, clicking a link, or viewing a particular page. These actions, referred to as Events, encompass various options including:
- Page Views: Tracking when a visitor views a specific page
- Add-to-Cart: Monitoring when a visitor adds an item to their cart
- Purchase: Noting when a visitor completes a purchase
- Scroll Depth: Recording when a visitor scrolls down a page for a specific duration
- Time on Page: Observing when a visitor spends a minimum amount of time on a page
Additionally, Meta Pixel can track visited URLs and devices used, leveraging these insights to categorize website visitors into target audiences for ad engagement.
Why You Need Meta Pixel on Your Website
The installation of Meta Pixel offers numerous advantages:
- Enhanced ROI on Facebook Ads: Utilizing Pixel data ensures your ads reach the most receptive audience.
- Insights into Visitor Behavior: Gain valuable insights into your audience’s preferences and actions on your site.
- Retargeting Opportunities: Engage warm customer segments through retargeting campaigns.
- Custom and Lookalike Audience Creation: Build ad audiences resembling your top customers or highly engaged visitors. Harness tools like LeadsBridge for efficient custom audience creation from Pixel data.
Why Install Meta Pixel as an Advertiser?
Installing Meta Pixel for your Facebook Ads can significantly elevate your advertising game. It provides detailed insights into ad engagement and performance metrics, allowing you to craft targeted ads for specific audience segments. With this data, you can reach genuinely interested audiences and expand your reach by targeting audiences similar to your existing customer base.
Moreover, Meta Pixel enables you to exclude certain groups, preventing ad fatigue among those who have already converted or shown limited engagement. As an advertiser, installing Meta Pixel equips you with the tools to achieve better results and efficiency in your advertising endeavors. It’s akin to having a savvy assistant optimizing your ads for maximum impact and returns.
How to install Facebook Pixel
Ready to get started and learn how to install Facebook Pixel? Here’s a simple guide.
1. Create a Facebook Pixel
Wondering how to find Facebook Pixel ID? Before you do anything, you need to create a Facebook Pixel to add to your site.
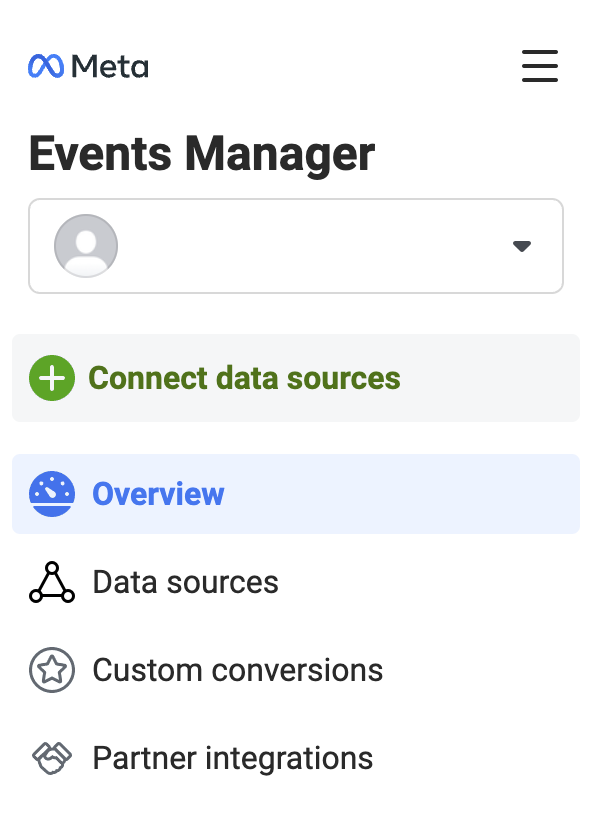
- Go to your “Facebook Events Manager”.
- On the left side menu, click “Connect Data Sources”.
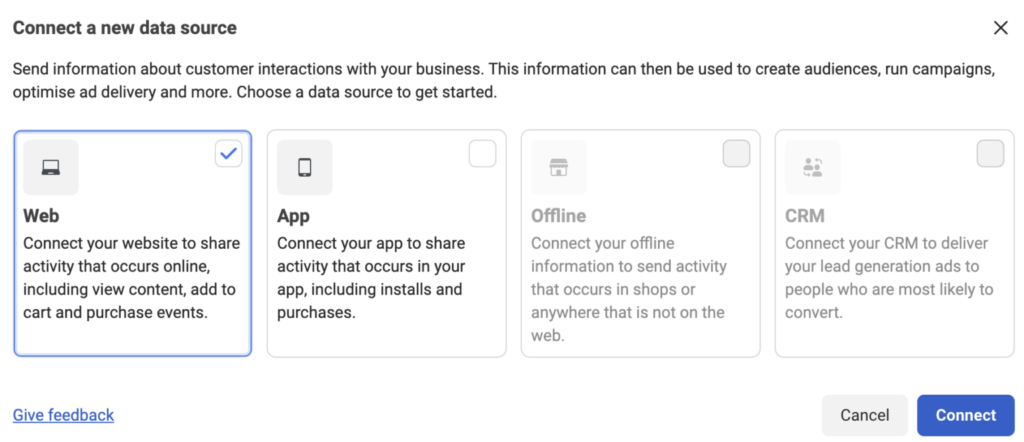
- Select “Web” and click “Connect”.
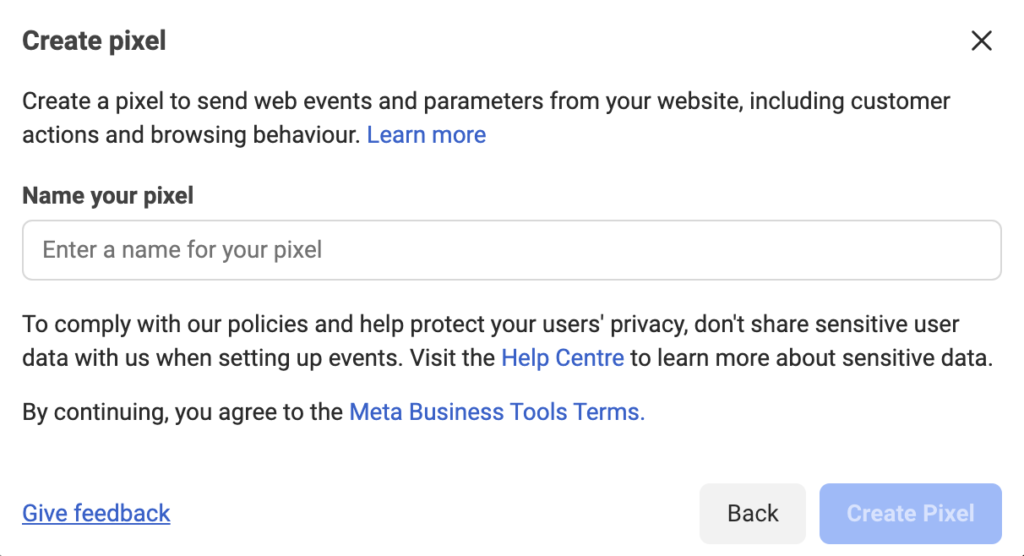
- Once redirected, give your pixel an indicative name and click “Create pixel.”
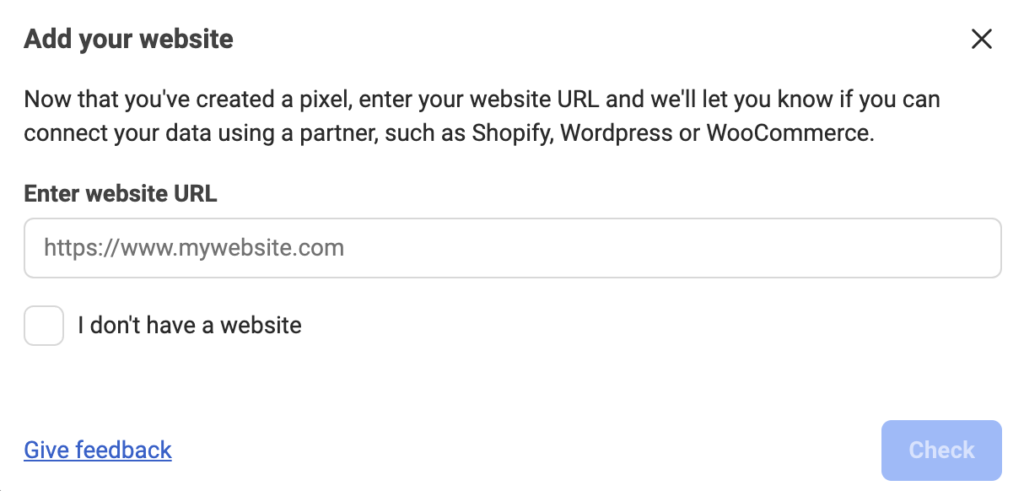
- Enter your website URL to check for easy setup options, and click “Check”.
2. Add the Facebook Pixel to your site
Once you’ve created a Pixel, it’s time to install it onto your website:
- Go to the Facebook Events Manager.
- Select your pixel.
- Click “Continue Pixel Set Up”
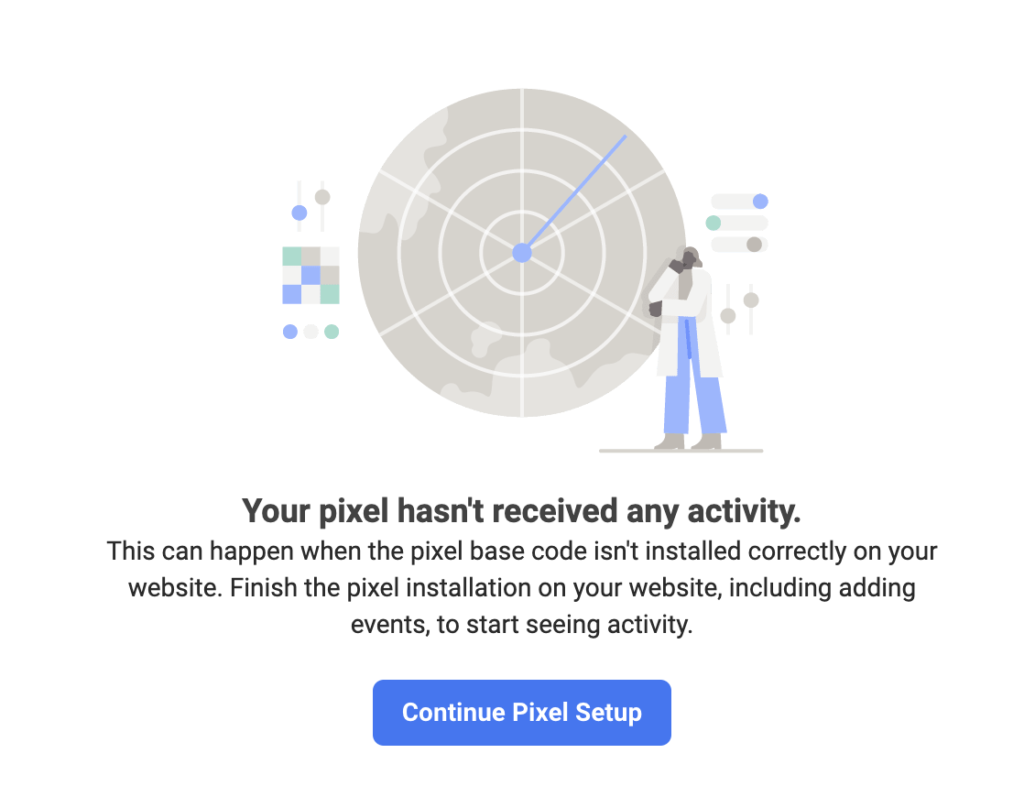
At this point, you have two options: Manually add the Meta Pixel code to your website or use a partner integration.
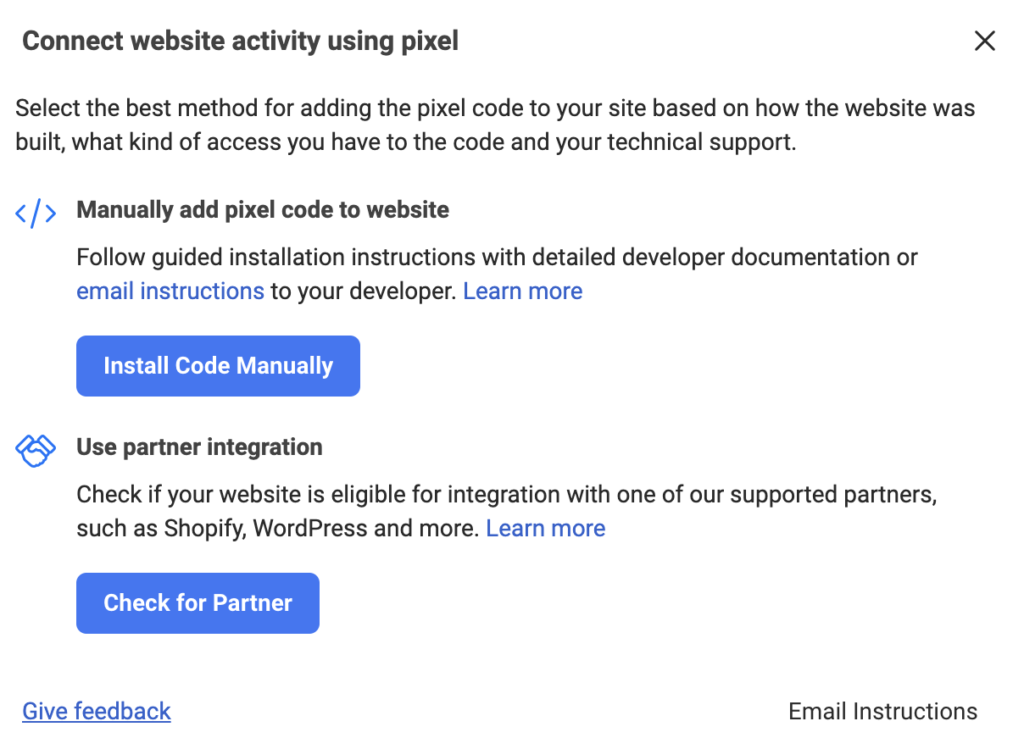
Manually add the Meta Pixel code to your website
- Select “Install Code Manually”.
- Copy the pixel base code.
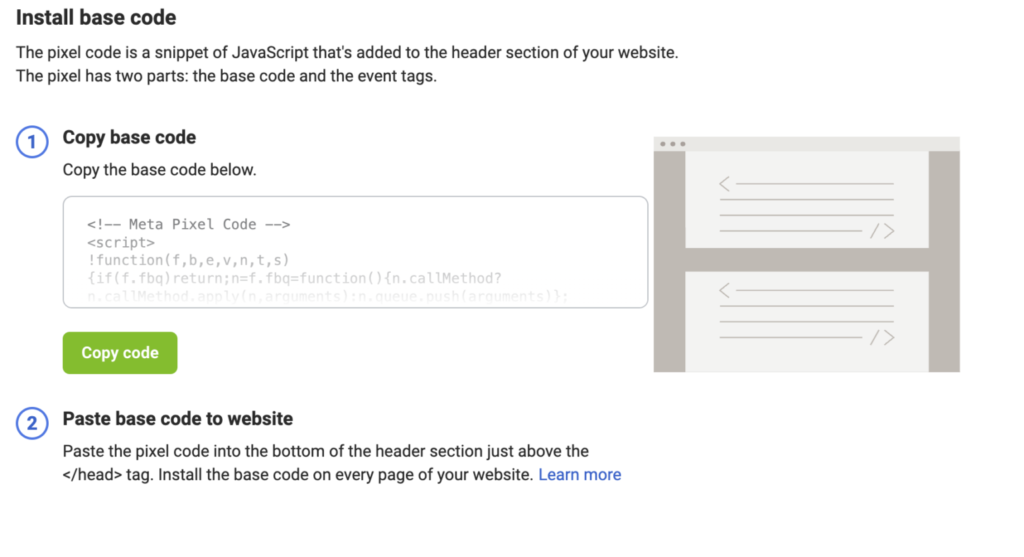
- Find your website’s header or locate the header template in your CMS or web platform.
- Paste the base code at the bottom of the header section, just above the closing head tag.
- Click “Continue”.
- At this stage, you can turn on “Automatic Advanced Matching” and verify the customer information you want to send. This is only optional, and I’ll explain more about it later on.
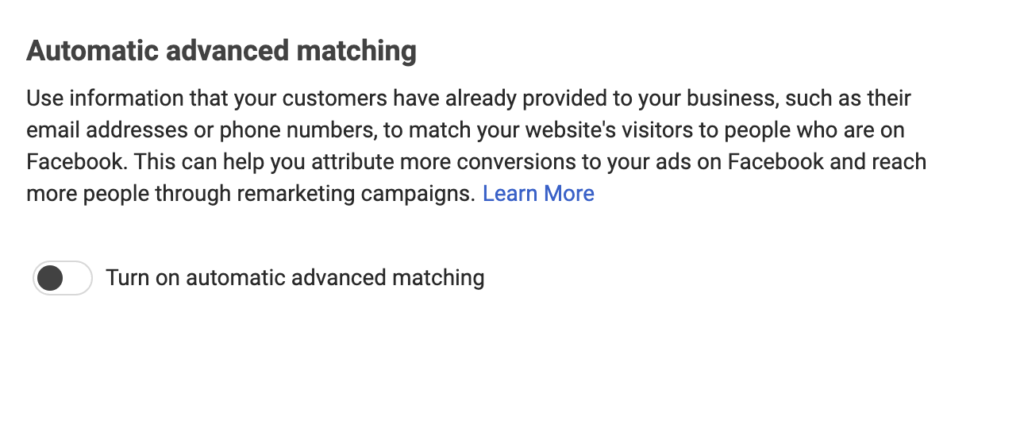
- Click “Continue”.
- Add Events using the Events Setup Tool or by manually adding the relevant code to your website. More about Meta Pixel events later.
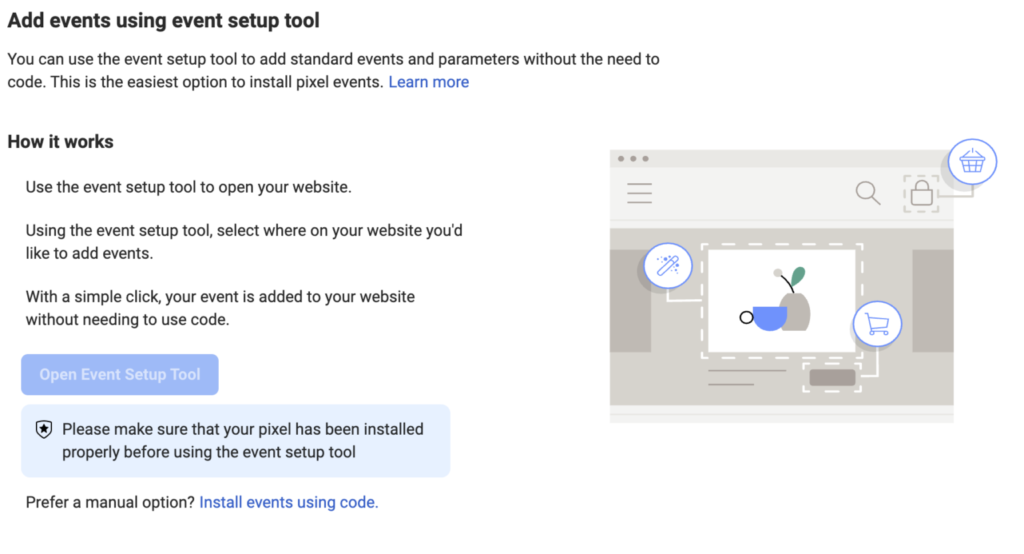
- Go to pixel overview, and if everything checks out, click “Done”.
Utilize a Partner Integration to Implement the Pixel on Your Website
Follow these simple steps to seamlessly integrate the Pixel into your website using a partner integration:
- Click on “Check for Partner” to initiate the process.
- Choose the relevant partner from the provided list.
- Follow the setup instructions displayed on-screen to complete the integration.
Verification Process: How to Confirm Facebook Pixel Functionality
Ensuring your Facebook Pixel is operational is crucial to capturing valuable data accurately. Follow these steps to verify its functionality post-installation:
- Load several pages on your website and perform actions that correspond to the conversions assigned when setting up the Pixel. Utilizing different devices can enhance accuracy.
- Navigate to “Ads Manager” and access the “Pixels” tab to view a list of created Pixels. Each Pixel should display a green dot, indicating its activity status, along with the date and time of the last tracked activity.
- If the dot isn’t green, return to your website and perform additional actions. Allow some time for the actions to reflect in Ads Manager before rechecking.
- If the Pixel remains inactive upon reevaluation, consider alternative methods for Facebook Pixel testing:
- Utilize the Pixel Helper Chrome extension.
- Employ the Test Events tool.
- Conduct a manual code inspection, possibly requiring assistance from your development team.
By following these steps diligently, you can ensure the seamless operation of your Facebook Pixel, enabling you to capture invaluable data for optimizing your advertising strategies effectively.
